Create Your Dream Epoxy Shower Floor with These Easy Steps
If you’ve recently been envisioning your dream bathroom oasis, it starts with the floor. The shower is one of the main focal points and can easily be transformed with a durable and modern epoxy coating. Whether you are interested in transforming an old outdated shower or starting from scratch, this epoxy coating will provide a beautiful sheen that adds tremendous value to any bathroom project. Don’t worry – applying an epoxy coating doesn’t have to be complicated nor time-consuming! Follow these easy steps for creating your own dream epoxy shower floor and discover how even novice DIYers can create stunning results worth showing off!
Gather the necessary supplies for your epoxy shower floor project
If you are planning on tackling an epoxy shower floor project, you will want to make sure you have all the necessary supplies before starting. In addition to the obvious, such as epoxy resin and hardener, you will also need tools for preparation and application, such as a paint roller, spreading spatula, and sandpaper. Don’t forget about safety equipment, like gloves and goggles to protect yourself from the chemicals in the epoxy. Taking the time to gather all the supplies beforehand will make the process smoother and ensure a successful outcome. So, make a checklist and head to your local hardware store, because a stunning new epoxy floor awaits!
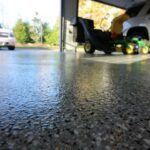
Epoxy Shower Floor Coating
Prep the area by cleaning, sanding, and priming
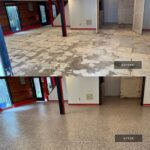
If you want your epoxy project to look sleek and professional, taking the time to prep the area beforehand can make all the difference. Cleaning the surface thoroughly ensures that the epoxy will adhere properly and not be compromised by any lingering debris or dirt. Sanding helps to smooth out any imperfections or bumps and creates a better surface for the epoxy to bond to. Lastly, priming not only acts as an added layer of protection but also helps to seal off any potential trouble areas that may come up later on. It may seem like a tedious process, but trust us, the end result is worth it. So take the time to prep the area before applying the epoxy, and you won’t be disappointed.
Mix the epoxy according to the instructions
Epoxy resin and hardener come in kits, but it is important to read the directions before starting the mixing process. While most epoxies use a two-part formula of one part resin and one part hardener, there are variations between brands. Many factors can affect the outcome of your epoxy shower floor project, so following the instructions carefully will help to ensure a successful outcome. Generally speaking, it is best practice to mix the resin and hardener in a separate container than you plan on spreading with your paint roller over the surface. This helps avoid any potential contamination that may occur if mixed directly in the same pot as the epoxy itself.
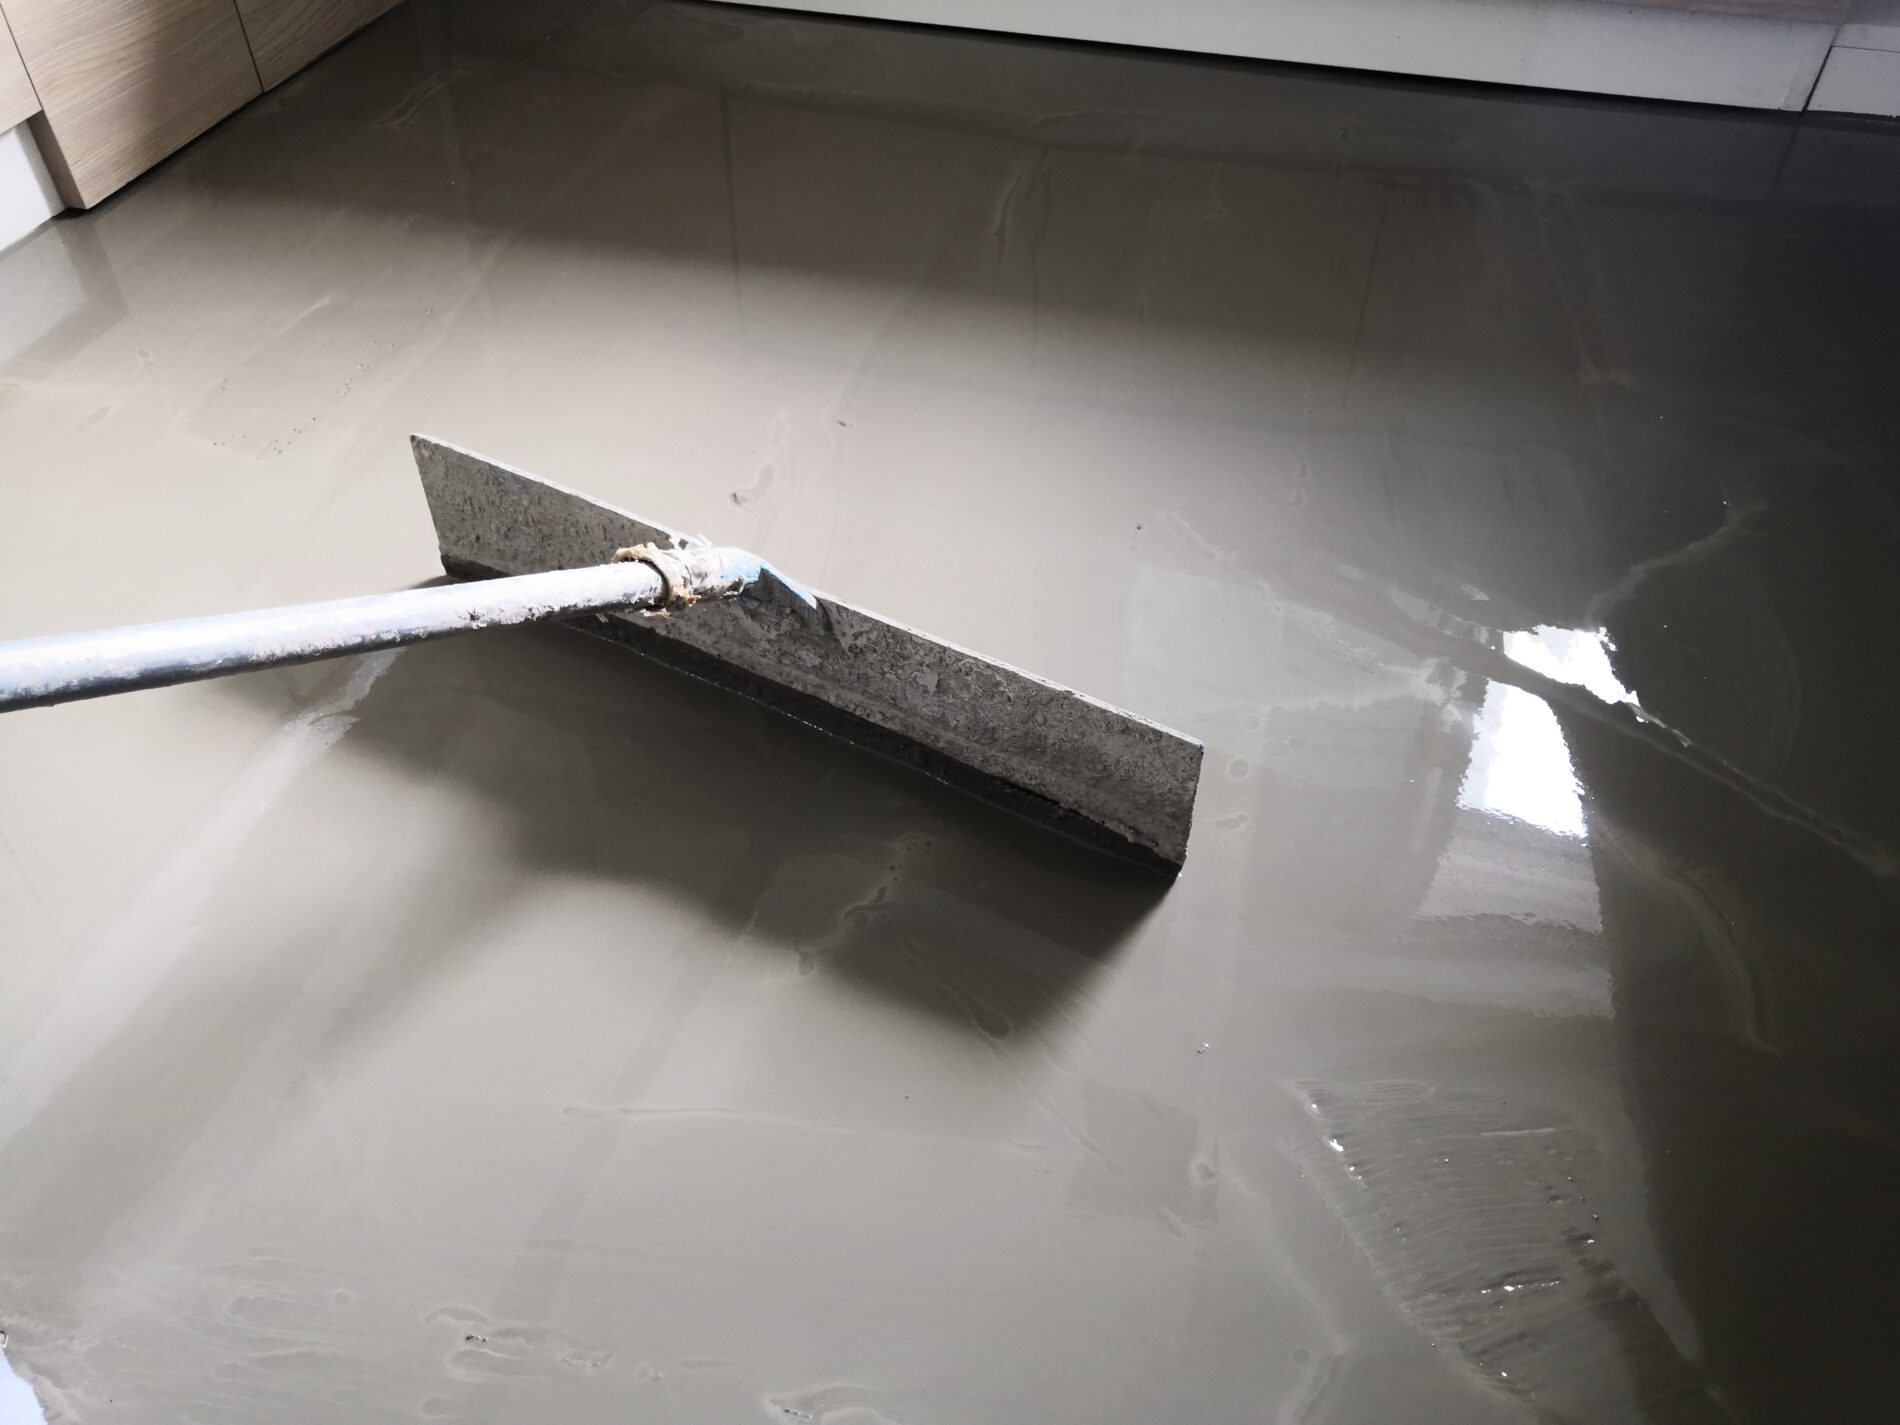
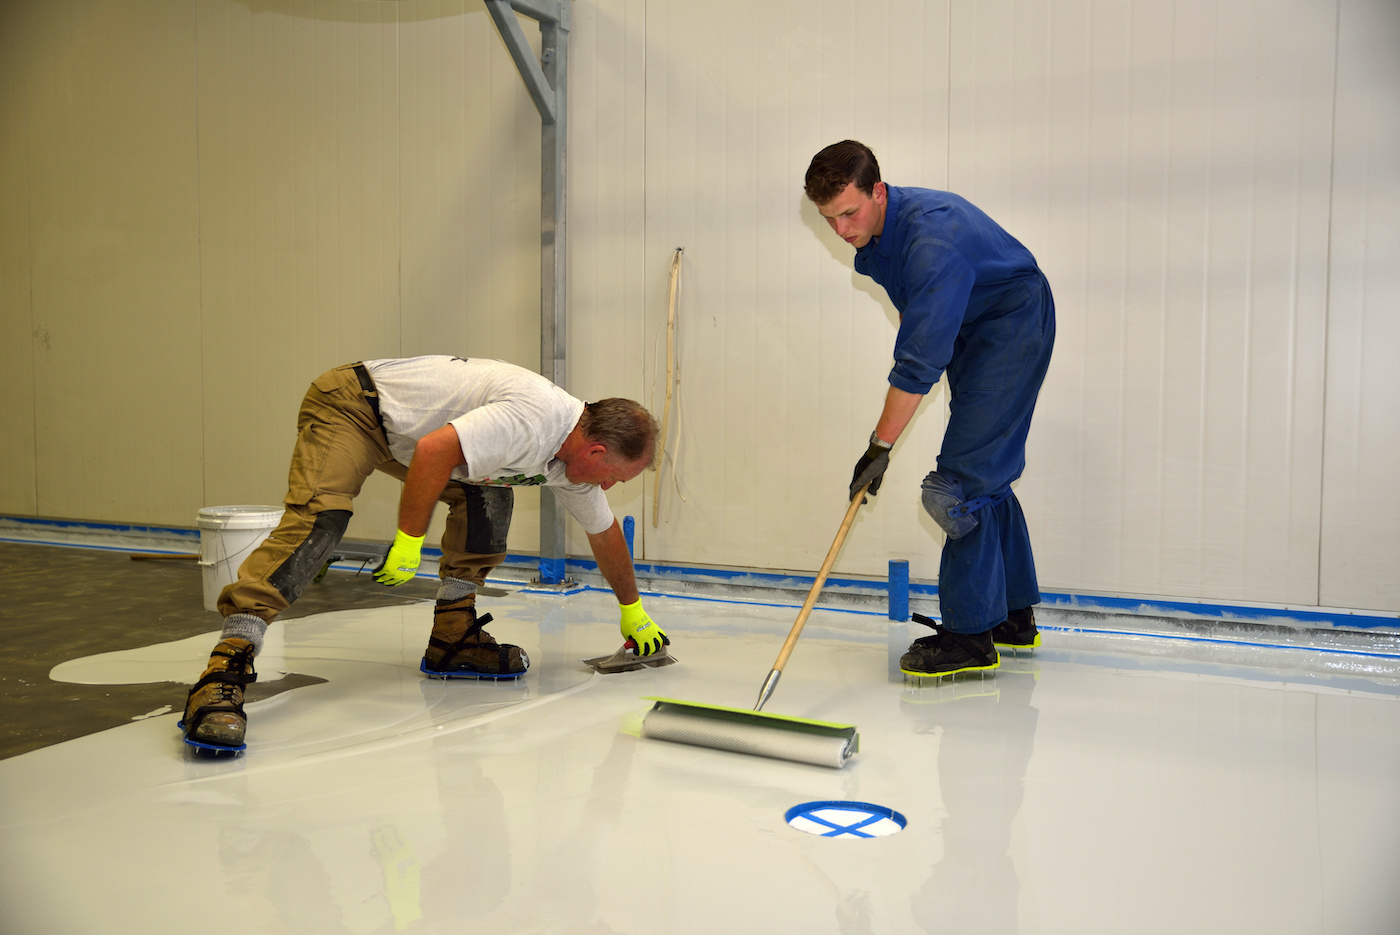
Apply the epoxy in a thin, even coat
Now that you have prepped the area and mixed the epoxy according to instructions, it is time for the application of epoxy. Make sure to spread a thin, even coat of epoxy over the surface with your paint roller or spreading spatula. Depending on the thickness of the epoxy you are using, you may need multiple coats to achieve desired results. If this is the case, make sure to allow for enough drying time in between coats. And don’t forget about the sides and edges of your shower floor! Taking extra care when applying epoxy to those areas will help ensure a waterproof seal that will last for years.
How to Apply Epoxy
Let the epoxy set according to the manufacturer’s instructions
This is arguably the most important step in creating a successful epoxy shower floor project. After applying the floor epoxy coating, it is important to let the surface set according to the manufacturer’s instructions. This varies depending on the type of epoxy you are using, but generally speaking, this can take anywhere from eight hours to overnight. During this time, make sure that the area is kept clean and free from any outside interference. If done correctly, when it’s all said and done you will have a stunning new epoxy shower floor that will last for years to come.
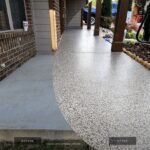
Add a top coat of sealant for protection and a glossy finish
Finally, to protect your epoxy floor and give it a glossy finish, you may want to consider adding a top coat of sealant once the epoxy has completely dried. Not only will this help keep the surface looking its best for longer, but it also adds an extra layer of protection against water damage or staining. An added bonus? The glossy finish will make your epoxy shower floor look modern and brand new. So, take the extra few steps for a durable and beautiful finish that you can be proud of!
Concrete Coatings All Year
https://www.google.com/maps?cid=15073981344419381280
2400 Satellite Blvd Suite K, Buford, GA 30518, United States
+1 678-580-6370
https://concretecoatingsallyear.com/


Leave a Reply