Transform Your Garage with Epoxyshield Garage Floor Coating – A Step-by-Step Guide
Are you looking to give your garage a much-needed facelift? Do you want it to have that professional look and feel usually seen in commercial garages? Well, then Epoxyshield Garage Floor Coating is the perfect solution for any DIY enthusiast out there! With a step-by-step guide on how to transform your garage with Epoxyshield, you’ll be able to spruce up the appearance of this important space. Not only does it protect against elements such as oil stains and chemical spills – but also helps create an attractive ambiance in your home or business. Plus, we’ll show you all the tips and tricks necessary so that you can complete this job with ease! So what are you waiting for?! Let’s get transformed!
Epoxyshield For Garage Floors
Understand the Benefits of Epoxyshield Garage Floor Coating
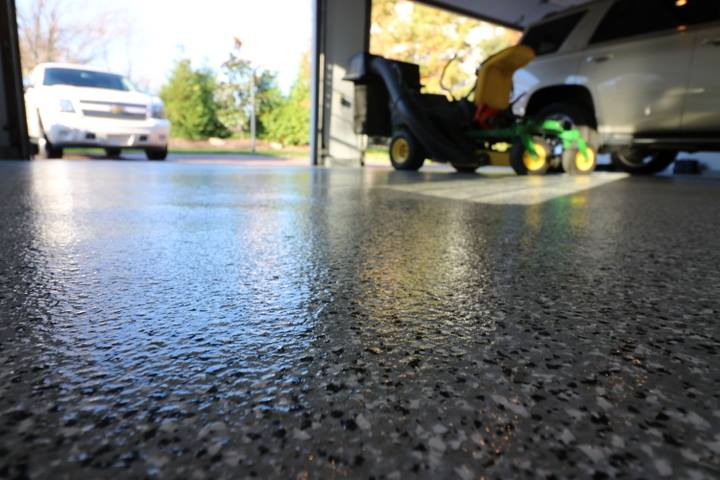
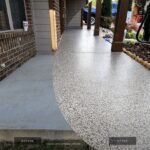
If you’re a homeowner who wants to protect the garage floor from rust and damage, epoxyshield garage floor coating can be the solution. This protective coating is made of epoxy, which is a thermosetting polymer that creates a strong and durable surface. The benefits of epoxyshield garage floor coating go beyond its ability to protect the floor. It also gives the garage floor a glossy finish, making it look clean and well-maintained. Plus, it resists stains and spills, making it easier to clean up any messes. With its long-lasting protection and aesthetic benefits, epoxyshield garage floor coating is a smart investment for any homeowner who values their garage and wants to improve its functionality.
Gather Supplies for Applying Epoxyshield Coating
If you’re looking to apply Epoxyshield coating, it’s important to make sure you have all the necessary supplies. While it may seem like a simple task, the right tools and equipment can make a big difference in the quality of your finished product. Some items you’ll want to consider include a pressure washer, paint roller, mixing paddle, and painter’s tape. It’s also a good idea to have gloves, safety glasses, and a respirator to protect yourself from any fumes or chemicals. By ensuring you have everything you need before you begin the application process, you’ll be setting yourself up for success and a beautiful finished result.
Prepare Your Garage Floor for Applying Epoxyshield Coating
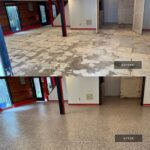
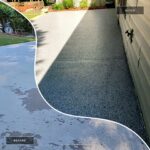
If you’re planning on coating your garage floor with Epoxyshield, you’ll want to make sure you prepare the surface properly beforehand. A poorly prepped surface can result in an uneven finish or even cause the coating to peel, so it’s important to take the necessary steps to ensure a successful application. Start by thoroughly cleaning and degreasing the floor, then use a concrete etcher to create a rough surface that will allow better adhesion. Finally, fill in any cracks or divots with a patching compound and allow it to dry completely before proceeding to the actual coating. With the proper prep work, you can achieve a smooth and durable finish that will not only protect your garage floor, but make it look great too.
Apply the First Coat of Epoxyshield Garage Floor Coating
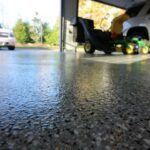
Upgrading your garage floor to a sleek and durable epoxy coating may seem like a daunting task, but fear not! Applying the first coat of Epoxyshield Garage Floor Coating is a simple and satisfying process that can instantly transform your garage. First, make sure your garage floor is clean and free of debris. Then, mix the Epoxyshield Resin and Hardener thoroughly before pouring it onto the surface. Use a roller or brush to evenly distribute the mixture, making sure to cover the entire floor. Once the first coat is complete, sit back and admire the smooth and glossy texture. You’ll be one step closer to having a garage that not only looks great but can withstand the wear and tear of everyday use.
Add a Second Coat of Epoxyshield Garage Floor Coating
Once the first coat of Epoxyshield Garage Floor Coating has been applied and dried, it’s time to add a second coat. Again, make sure the surface is clean and free of any debris. Mix the resin and hardener together and apply it evenly with a roller or brush. To ensure maximum durability, use a cross-hatch pattern when applying the coating, as this will help create a strong bond between the two layers. When both coats are dry, you’ll have a beautiful epoxy finish that is incredibly durable and able to handle whatever your garage throws at it – from oil spills to heavy equipment.
Epoxy Garage Floor Coating
Finishing Touches to Your Newly Applied Epoxyshield Garage Floor Coating
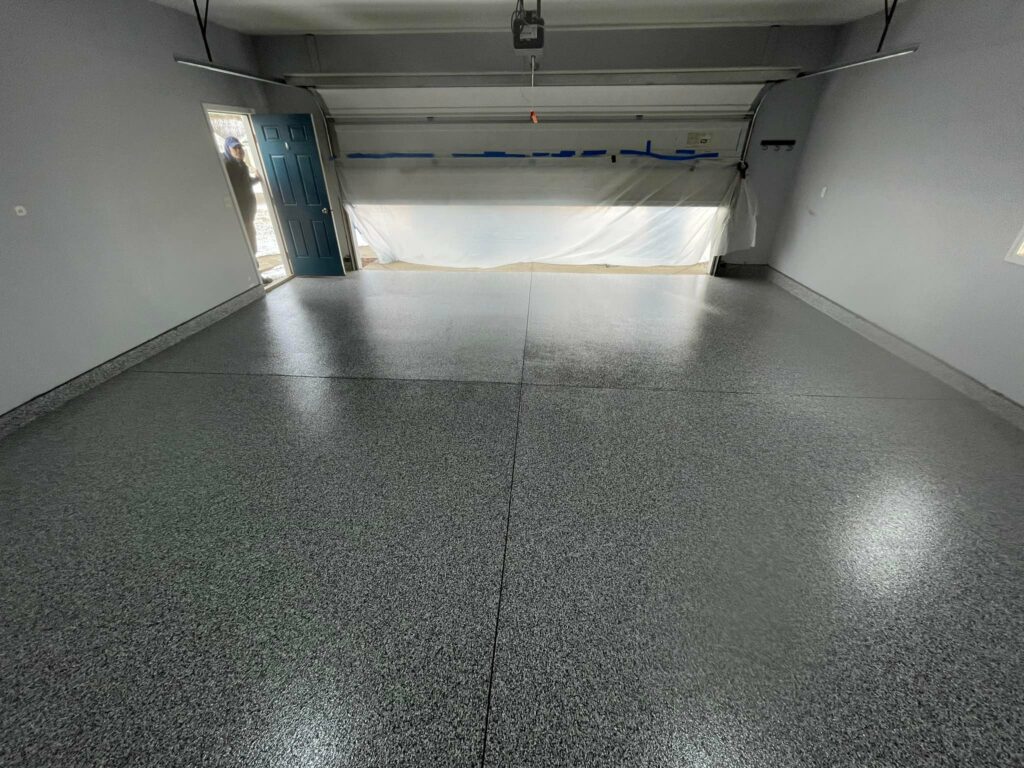
To complete your epoxy flooring, you may want to consider adding anti-slip additives or decorative chips. Anti-slip additives help create a non-skid surface that is perfect for garages with high traffic. Decorative chips are available in various colors and sizes, giving you the ability to customize your garage floor however you’d like. Once you have added the desired finishing touches, your epoxy flooring will be ready to use! Be sure to enjoy and appreciate all the hard work that you put into transforming your garage. With Epoxyshield Garage Floor Coating, it’s easy to take an ordinary space and turn it into something extraordinary.
Concrete Coatings All Year
https://www.google.com/maps?cid=15073981344419381280
2400 Satellite Blvd Suite K, Buford, GA 30518, United States
+1 678-580-6370
https://concretecoatingsallyear.com/
Leave a Reply